• Our software update is now concluded. You will need to reset your password to log in. In order to do this, you will have to click "Log in" in the top right corner and then "Forgot your password?".
  • Welcome to PokéCommunity! Register now and join one of the best fan communities on the 'net to talk Pokémon and more! We are not affiliated with The Pokémon Company or Nintendo.

Graphics & Photography Tutorials Thread

Pikachu Trainer~

PokéDex Project
191
Posts
17
Years
Your outcome using Aizuke's tutorial is great Vivaa, now I don't know whether to post mine... =D.
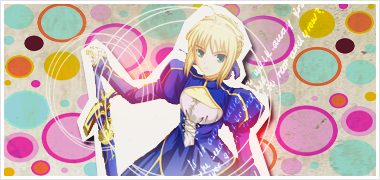
Heres my attempt at your tutorial Aizuke, I created it for Noxious.'s graphics class.
Assignment3.png
 

Loki

x
6,829
Posts
18
Years
  • Seen Apr 4, 2024
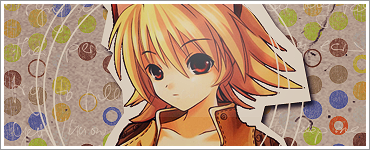
By request of Vivaa:

TUTORIAL

Program Used: Photoshop CS2 (Though CS+ should be fine.)
Required:
-Colorful Stock
-Gray, scratchy/speckled textures
-Special textures specified inside the tutorial
-Sparkle brushes
-Lots of circular light textures, specified inside the tutorial
-Vector brushes
-.PNG to match your main .png, as specified inside the tutorial.

Skill Level: Medium-hard.

(I didn't explain how to do little things this time, but I did try to make it clearer than the last few tutorials I've made, and I think I succeeded. The process is just a little longer and complicated.)
 

Renyui!

ascender
1,402
Posts
16
Years
:DDDDDDDDDDDDDDDDDDDDD
Yay! You did it, Loki! There may have been some computer crashes but you did it!
I'll get to it! ;D
Edit

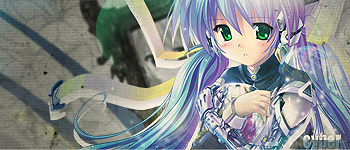
Ugh, I dunno if this looks good or not. Made from Loki's latest ;D
requesttut.png
 
Last edited:

Twilight Wolf

The Alpha Female
150
Posts
15
Years
Program Used:
GIMP 2.6 (for those who are stuck with it xD)

Required:
I'm thinking any GIMP Program, but I don't know how each program differs. A GIMP program is fine, and it's all you'll need. ^-^

Skill Level:
Easy

Step 1.
First, you want to create a new file. Go to File>New and we'll start out with a 450x150, ok?

Step 2.
Next, go ahead and go to Filters>Render>Clouds>Difference Clouds. Adjust them to how you want by Randomizing it, making it Turbulent, or selecting the Tilable option. Test and expiriment with it until you are satisfied, then click 'Ok'.

Step 3.
Before you continue, go to Layer>New Layer, make sure 'Transparent' is chosen, then go ahead and press Ok.

Step 4.
Now go to Filters>Render>Nature>Flame. Leave all of the options alone excluding the Colormap and Edit buttons (unless you like them how they are). Select what style you like, color it accordingly, and press 'Ok'.

Step 5.
Repeat steps three and four about two or three times, prefferably going to Filters>Re-show "Flame" for step four and switching the colors to how you like it.

Step 6.
Add a new layer once more using Step 3 and go to File>Open. Open your render, who you should have saved.

Step 7.
Right-click on your render and go to Edit>Copy. You may now close the window with your render if you like.

Step 8.
Go to back to your banner and right-click on it and click Edit>Paste. Your image is now on your banner (duh). Move it around however you like.

Step 9.
Now repeat Step 3 and Step 4 about three times.

Step 10.
You are now finished! Go to File>Save As and save it how you like!

*~*~*~*~*~*~*~*~*~*~*~*~*~*~*~*~*~*~*

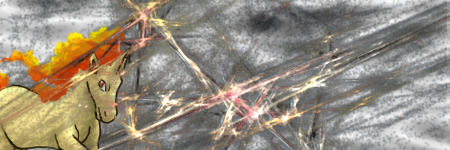
My End Result:
RapidashBanner.png


^-^

This tutorial might work on other programs such as Photoshop since I have seen the Clouds and Nature options in some of the tutorials using Photoshop. It's pretty basic, I must say. It was my first banner ever, by the way. xD Well, with me knowing how to work GIMP.

I have also learned recently that having the GIMP Germ i extremely enjoyable.
 

Renyui!

ascender
1,402
Posts
16
Years
ohai, rowan made a decent tut about a tag no one has seen before for once xD;
Program used:Photoshop CS3, though it will work for other versions.
Required:A Texture, decent knowledge of PS, a render and some smudge brushes.
Skill Level: Medium to hard, cause i uber-suck at explaining things.
Tutorial: Click for keeps.

I'm terrible at explaining this, i know. xD
If you have any problems, tell me.
 
Back
Top